第一步、安裝 certbot 套件。
apt update
apt -y install certbot
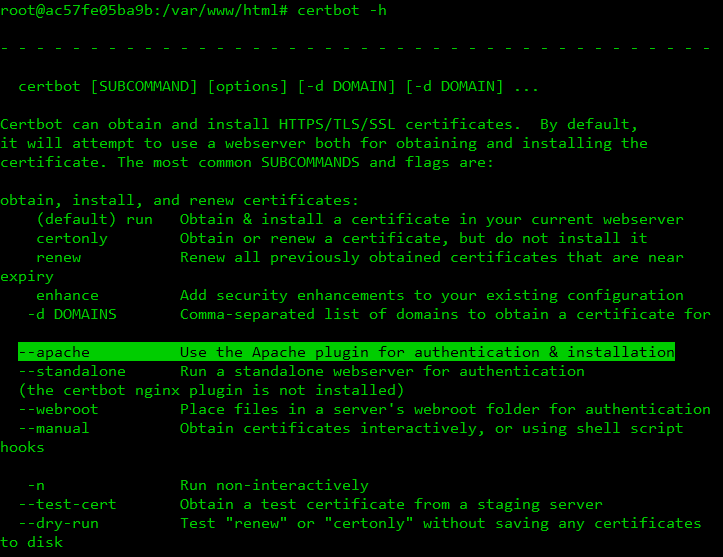
apt -y install python3-certbot-apache第二步、檢查 apache 外掛使否安裝成功,輸入 certbot -h ,不成功會出現 (the certbot apache plugin is not installed)。
第三步、透過 certbot 申請憑證。
certbot certonly --apache -w /var/www/html/ -d YOUR_DOMAIN --email YOUR_MAIL第四步、進入 /etc/apache2/sites-available/ 資料夾。
cd /etc/apache2/sites-available/第五步、輸入 vi default-ssl.conf,修改 SSL 配置文件。
SSLCertificateFile /etc/letsencrypt/live/YOUR_DOMAIN/cert.pem
SSLCertificateKeyFile /etc/letsencrypt/live/YOUR_DOMAIN/privkey.pem
SSLCertificateChainFile /etc/letsencrypt/live/YOUR_DOMAIN/chain.pem
第六步、建立 SSL 配置文件連結。
ln -s ../sites-available/default-ssl.conf /etc/apache2/sites-enabled/000-default-ssl.conf第七步、啟用 SSL 並重新啟動 Apache 伺服器。
a2enmod ssl
service apache2 restart
第八步、輸入 vi 000-default.conf,設定不是 HTTPS 連線就重新導向到 HTTPS。
RewriteEngine on
RewriteCond   %{HTTPS} !=on
RewriteRule   ^(.*)  https://%{SERVER_NAME}$1 [L,R]
第九步、保存設定並重新啟動 Apache 伺服器。
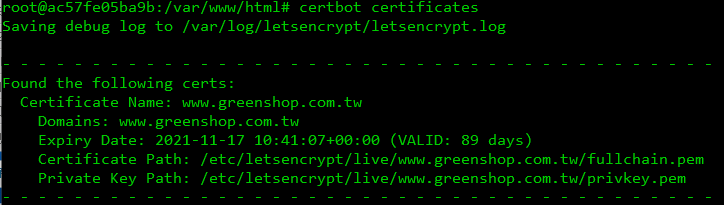
a2enmod rewrite && service apache2 restart第十步、輸入 certbot certificates 查看憑證有效日期。
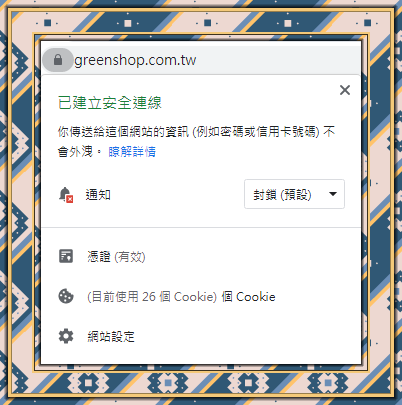
第十一步、打開剛剛申請的網址,看到這個高大上的鎖頭就表示安裝成功啦。
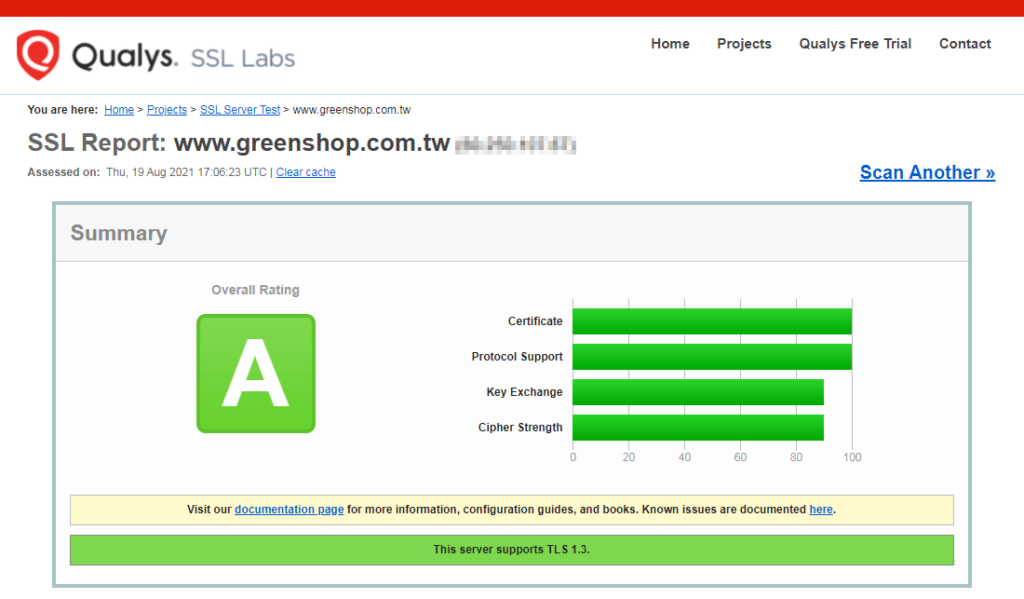
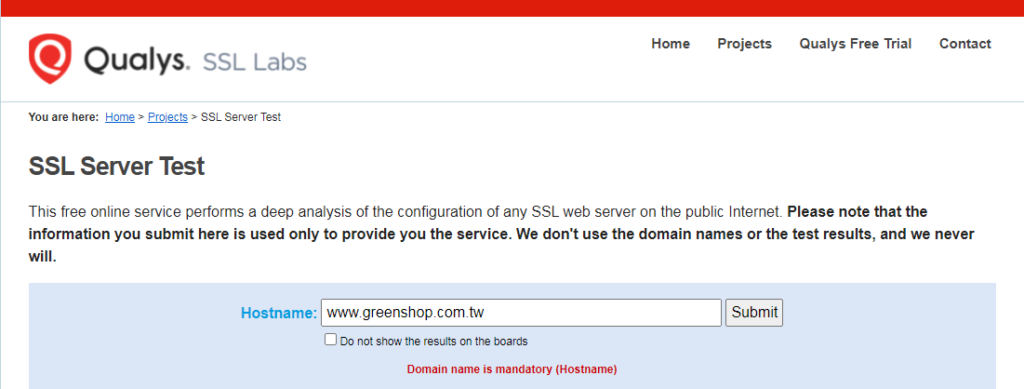
同場加映:如何檢測網站 SSL 憑證安全等級。
連到 SSL LABS,輸入要檢查的網址,然後按下 Submit 送出。
等一段時間後就會出現網站的安全等級,如下圖。